Get ready to paint your nails with romance this Valentine's Day! 2025's nail art trends are all about diversity—from minimalist chic to maximalist sparkle. We're ditching the same old hearts and embracing exciting new textures, techniques, and colors. This guide provides easy-to-follow instructions for every skill level, so let's find the perfect Valentine's Day nail art for you!
Minimalist Valentine's Day Nail Designs: Subtle Romance
Minimalist nail art whispers romance—think delicate touches and charming accents. These designs are easy to recreate, even if you're a nail art newbie.
Design 1: A Hint of Heart
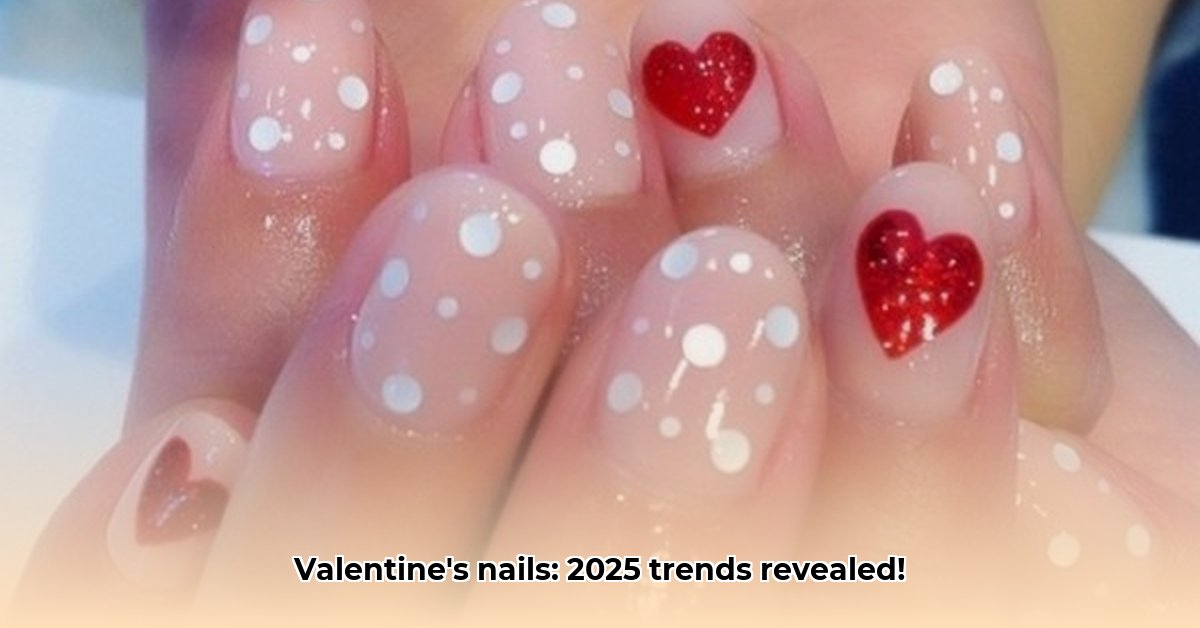
(Image: Insert image of nails with a neutral base, like a soft beige or pale pink, and a single, tiny red heart on the ring finger)
This design is all about simplicity. A single, tiny red heart adds a touch of Valentine's Day charm without being overwhelming. It's easy to achieve this delicate look!
Steps:
- Apply a base coat (protects your nails and improves polish adhesion).
- Apply two thin coats of a neutral polish (pale pink or beige). Let each coat dry fully.
- Use a fine nail art brush (or a toothpick!) to paint a tiny red heart on your ring finger. Don't stress about perfection—a slightly imperfect heart adds charm!
- Once dry, seal with a top coat for a glossy finish and longer-lasting manicure.
Design 2: Negative Space Hearts
(Image: Insert image of nails with a clear or nude base, and a heart shape created using negative space – perhaps a red heart outline on a clear nail)
Negative space designs are incredibly chic and modern. This look is surprisingly easy and makes a big impact!
Steps:
- Start with a base coat.
- Apply one coat of clear or nude polish.
- Use thin painter's tape to create a heart shape on your accent nail (usually the ring finger). Press firmly for clean edges.
- Paint the exposed area with vibrant red polish. Carefully remove the tape while the polish is still slightly wet.
- Finish with a top coat.
Design 3: A Touch of Shimmer
(Image: Insert image of nails with a soft pink or nude polish as a base and a single accent nail in a metallic gold or rose gold polish)
A single metallic accent nail adds a touch of luxury and sophistication. This subtle yet elegant touch adds a touch of glamour to your look!
Steps:
- Prepare your nails with a base coat.
- Paint all nails with two thin coats of a soft pink or nude polish.
- Apply two coats of metallic gold or rose gold polish to one accent nail (ring finger).
- Finish with a top coat.
Maximalist Valentine's Day Nail Art: Bold and Beautiful
If subtle isn't your style, embrace maximalist nail art! Bold colors, intricate designs, and 3D embellishments create truly eye-catching nails.
Design 1: 3D Heart Explosion
(Image: Insert image of nails with a vibrant base color, such as red or pink, adorned with several raised 3D heart embellishments)
These nails are all about fun and extravagance. 3D hearts add a playful dimension!
Steps:
- Apply a base coat and two coats of a bold base color (red or pink).
- Apply 3D heart embellishments using strong nail glue. Use a tiny amount of glue per embellishment.
- Let the glue set completely, then seal with a high-quality top coat.
Design 2: Intricate Heart Mosaic
(Image: Insert image of nails with a complex pattern of hearts in various shades of pink and red, possibly using a gradient effect)
This design takes more artistry, but the result is stunning. Combining pinks and reds creates a gorgeous visual effect.
Steps:
- Start with a base coat.
- Apply a gradient effect using various pinks and reds (blend with a sponge or thin brush).
- Use a thin detail brush to paint intricate heart shapes, creating a mosaic effect.
- Seal with a top coat.
Design 3: The Glamorous Mix
(Image: Insert image of nails decorated with a combination of glitter, rhinestones, and hand-painted elements, like hearts or cupid's arrows)
This design combines techniques for a truly glamorous effect. Don't be afraid to experiment!
Steps:
- Apply a base coat.
- Apply glitter polish as a base.
- Strategically place rhinestones.
- Hand-paint details (hearts, small patterns).
- Finish with a top coat.
Advanced Techniques & Tips
- Nail Prep: Clean and gently push back your cuticles before applying polish.
- Thin Coats: Apply thin coats to avoid chipping. Let each coat dry completely.
- Dotting Tools: Use dotting tools or toothpicks for precise embellishment placement.
- Top Coat: Seal your art with a top coat for protection and shine. Reapply every few days.
- Patience: Don't be discouraged if your first attempts aren't perfect. Practice makes perfect!
Remember, the most important thing is to have fun and experiment to create nails you love! Happy Valentine's Day!